

Publishing is the moment your documentation becomes visible to readers. This page covers how to publish from the dashboard, where your site is served (default subdomain + custom domain), how to verify DNS, and the SEO features GitDocAI handles automatically.
For visual customization (colors, logos, navbar, footer) see Branding your site. For the Knowledge Base and reader-facing search, see Knowledge Base.
Publishing your site
The Publish button
In the dashboard header, on the right side, you'll find the Publish button. It's always visible while you're editing a documentation — its appearance just changes based on the doc's state:
No pending changes — neutral button. Nothing new to ship.
Pending changes — an amber dot sits on the button, signaling unpublished edits.
Pending AI proposals or re-sync proposals — the button is disabled until every proposal is accepted or rejected. You can't ship half-reviewed work to readers.
Clicking Publish pushes the entire current state of your doc to the live site: every section, page, theme change, navbar/footer tweak. You don't need to pick what goes live — it's always the full current snapshot.
Asynchronous publish
Publish runs asynchronously in the background. The Publish button returns immediately and the dashboard polls for status until the live site is up to date.
Large sites can take longer than a minute to fully publish — the publish job has up to a 60-minute timeout window to finish, so you don't need to worry about big rebuilds being cut short. You can keep editing while a publish is running; the next click picks up whatever's pending at that moment.
Each publish also wipes and rebuilds the search index so reader-facing search reflects the new content immediately. There's nothing to configure for this.
View live site
The View live site button in the header is always visible. If you haven't published yet, clicking it prompts you to publish first (with a one-click shortcut). Once your doc is published, the button opens the live URL in a new tab so you can verify the result.
What counts as a "pending change"
Every meaningful edit marks the doc as having pending changes:
Writing or editing a page's content.
Creating, renaming, or deleting a section or page.
Changing the theme, navbar, or footer.
Configuring the Knowledge Base.
Toggling versions or version flags.
Adding or removing sources on a section.
The amber dot stays on the Publish button until you publish again. Edits that happen while a publish is in flight get included in the next publish.
Who can publish
Only Admin and Editor roles can publish. Viewers can navigate the dashboard but can't promote changes to the live site.
Publish history & automatic backups
Each publish creates an immutable entry in your Publish History — an audit trail showing who published, when, and a snapshot of the version/section/entry counts at that moment. You can find this log on the Analytics page.
GitDocAI also takes an automatic backup of your documentation content on every publish. If something goes wrong, you can restore any previous publish with one click. See Backup & Restore for the full restore flow.
Publish often. Because every publish is the full snapshot of your doc — and is automatically backed up — there's no risk of "pushing only half the changes," and rolling back to a known-good state is always one click away.
Controlling who can read your site
Each documentation has its own audience setting — Public or Private — configured from the Access page in the dashboard sidebar. The page scopes to the currently-active doc, so every site in your org can have its own visibility.
Public vs Private
Public — anyone with the link can read the published site. No sign-in required.
Private — only authenticated organization members can read it. Readers log in with their GitDocAI account before the site loads, and membership is checked on every visit.
Setting a doc to private
From the Access page, flip the audience toggle to Private. When enabled, the Authorized Readers panel becomes active and shows a headcount of every active member by role (Admin, Editor, Viewer), plus how many invitations are still pending acceptance.
Only Admins can change a documentation's audience. The Private option also requires a plan that includes private documentations — you'll see an upgrade prompt if your current plan doesn't cover it.
How readers actually get access
The Access page shows who can read a private doc. The Team page is where you invite those readers. See Managing Team, Billing and Support for the invitation flow, the Viewer role, and member statuses.
Where your site lives
Default subdomain
Every documentation gets a free, SSL-secured subdomain at *.gitdoc.ai the moment you create it. No configuration needed — you can publish and share the URL immediately. The subdomain is a sanitized version of your doc's name plus part of your organization ID, guaranteed unique.
Custom domain
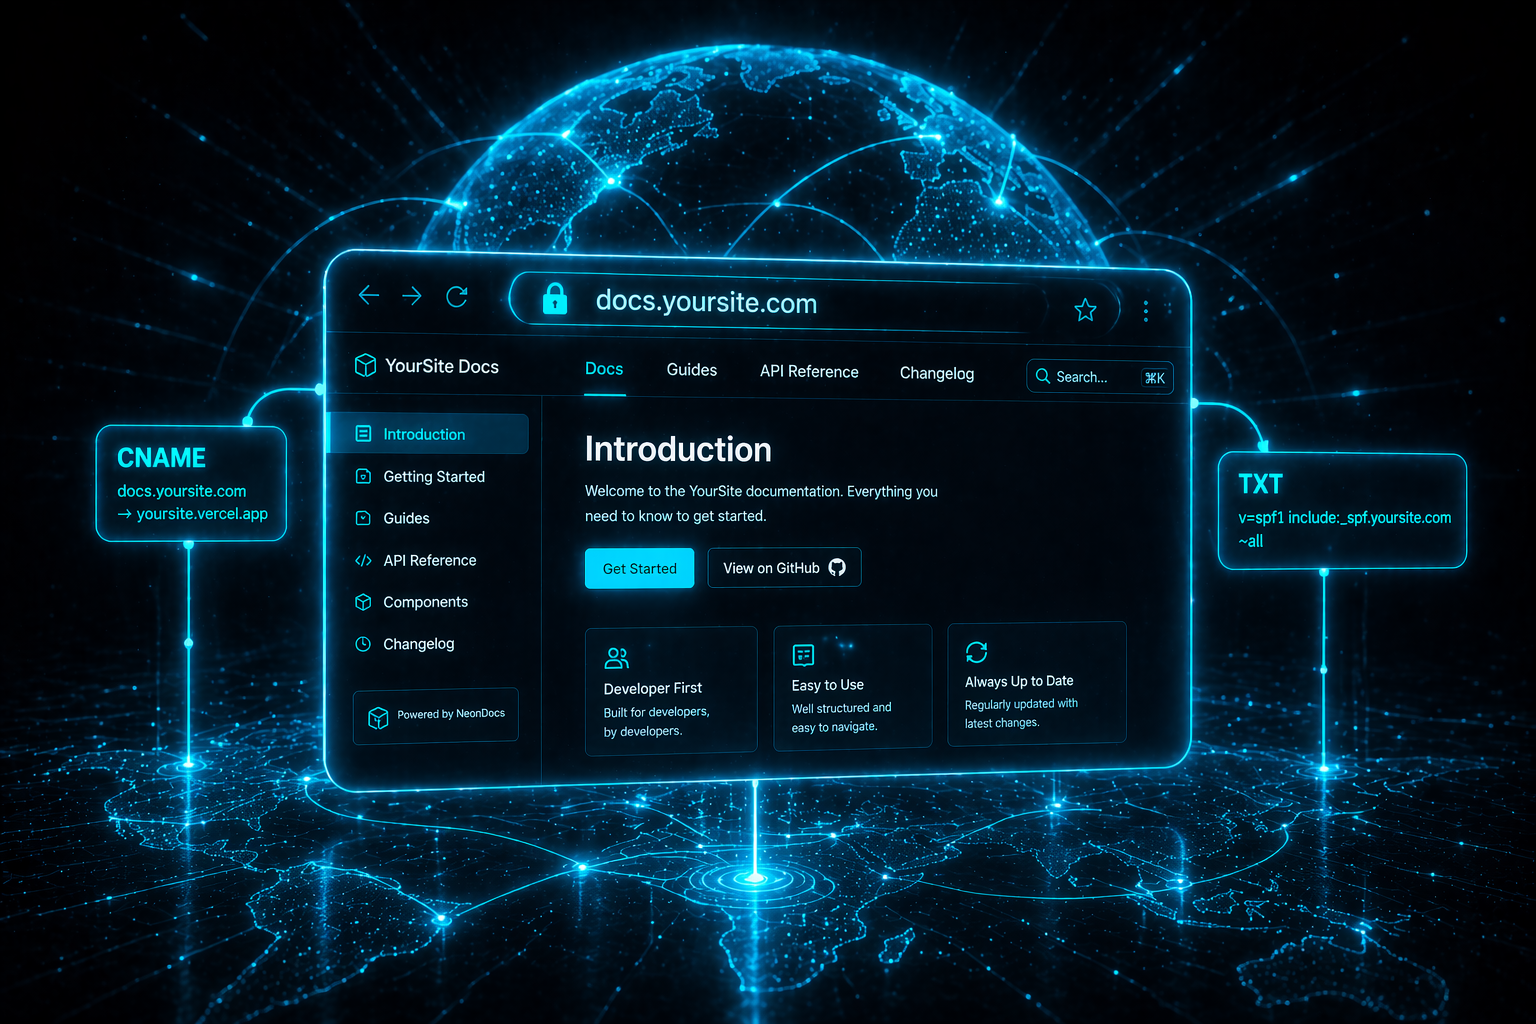
If your plan supports it, serve your docs on your own domain — docs.yourcompany.com, help.acme.dev, whatever fits your brand. Setup is a four-step flow; GitDocAI handles SSL provisioning automatically once the domain is verified.
From the Domain page, click Add Custom Domain. Enter the domain you want to use (e.g., docs.yoursite.com) and submit. The page transitions to a "Pending Verification" state, and the validation records load immediately so you can copy them right away.
GitDocAI shows you a table with the DNS records to add — typically a CNAME for traffic routing and a TXT for SSL validation. Each row has a copy button for the record value.
Log in to your domain registrar or DNS provider (Cloudflare, Route 53, GoDaddy, Namecheap, etc.) and add the records exactly as shown. Name, type, and value must match.
Back in GitDocAI, click Check Verification Status. This check is manual — GitDocAI doesn't poll for you, so trigger it yourself when DNS has had time to propagate.
Once all records validate, you see a green success screen with a shield icon, and your site starts serving on the custom domain with SSL already provisioned. Authenticated flows on private docs (sign-in, OAuth) work seamlessly on the custom domain.
DNS propagation can take up to 48 hours globally. If the first verification check fails, leave the records in place and try again later. The records are correct either way — you're just waiting for the internet to catch up.
Replacing or removing a custom domain
Replace: adding a new custom domain swaps out the previous one automatically. Only one custom domain per documentation at a time.
Remove: click the red Remove Domain button on the Domain page. Your site reverts to serving exclusively on the default
.gitdoc.aisubdomain.
Assets
Images, videos, and other media uploaded to a page are served directly from GitDocAI's CDN — there are no signed URLs to manage or refresh. Uploads have a 10 MB client-side size cap; anything larger should be hosted externally and referenced by URL.
Search engine optimization
GitDocAI handles standard SEO automatically for every published page — no plugins, no configuration:
/sitemap.xml— auto-generated, listing every visible page with itslastmodtimestamp. Private documentations return404here so nothing gets indexed./robots.txt—Allow: /for public docs,Disallow: /for private, with a link to the sitemap.OpenGraph and Twitter Card meta tags on every page — rich previews when readers share your docs.
Canonical URLs — one canonical per page, preventing duplicate-content penalties.
Structured data (JSON-LD) —
TechArticleschema for pages,WebSitefor the homepage.OG image — defaults to your documentation logo with light/dark fallbacks.
All of this updates automatically each time you publish.
Related
Theme, colors, logo, navbar, footer — Branding your site
Content editor, preview, versions, autosave — Using the Content Editor
Knowledge Base landing + AI Search + Ask AI — Knowledge Base
Backups and restore — Backup & Restore
Analytics and Publish History in detail — Managing Team, Billing and Support