

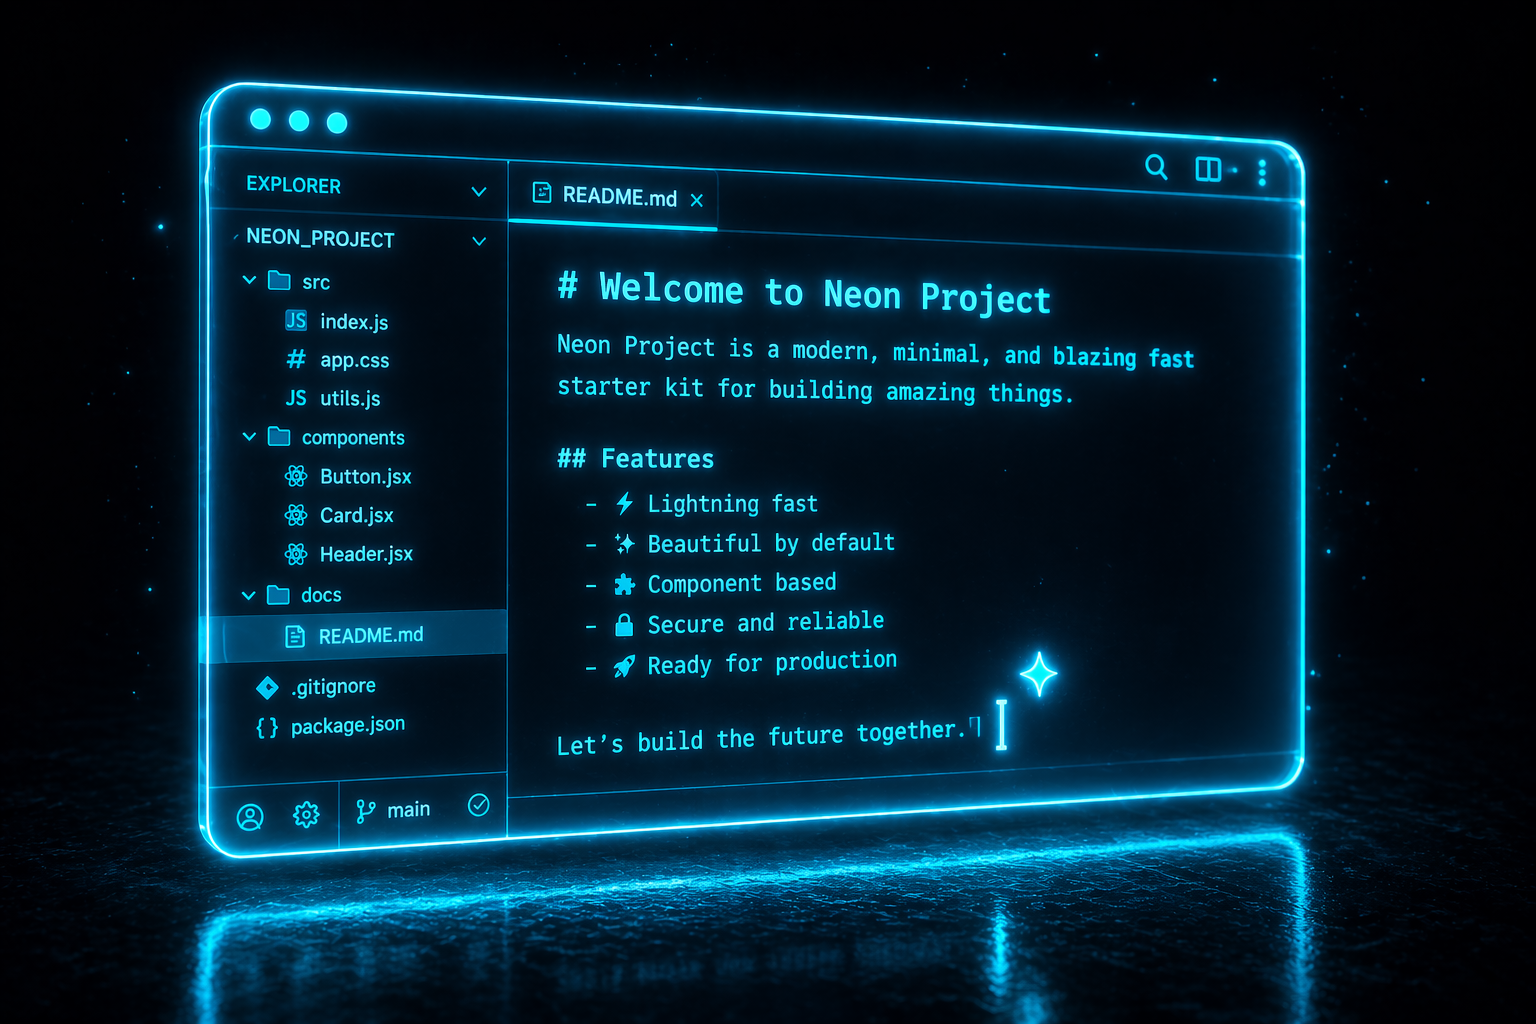
The Content editor is your central hub for writing, formatting, and organizing your documentation. Whether you prefer a visual interface or writing raw MDX, the editor provides everything you need to structure your pages and write faster with built-in AI tools — with a review-before-merge flow for every AI-driven change.
Organizing your documentation
Your documentation has two organization layers: sections at the top (shown as tabs in the header) and pages within each section (shown as a tree in the left sidebar).

Managing Sections (header tabs):
Create: Click the + button next to the section tabs to open the section wizard.
Edit or delete: Right-click a section tab to rename it, change its icon, or remove it.
Reorder: Drag and drop tabs to rearrange them.
Deleting a section also removes every page inside it. You will always see a confirmation prompt before this happens.
Managing Pages (sidebar tree):
Create: Right-click a group in the sidebar (VS Code-style) and choose Add page or Add group (folder).
Organize: Drag and drop pages to reorder them or nest them under folders.
Edit: Click a page to open it, or rename it inline.
Editor modes
Toggle between two editing experiences using the switch in the top right of the toolbar:
Visual mode — a rich, WYSIWYG editor that looks exactly like the final published page.
Code mode — a raw MDX editor for advanced users who prefer writing markdown by hand.
Both modes stay perfectly in sync. Content is persisted as MDX; legacy pages stored as Tiptap JSON are auto-detected and converted on first open. If you write invalid MDX in Code mode, the editor will keep you in Code mode so you can fix the syntax error without losing any work.
Formatting content
The top toolbar gives you quick access to standard formatting:
Text styles: Paragraphs, Headings (1–3), and Quotes.
Formatting: Bold, Italic, Underline, Strikethrough, and Inline code.
Lists: Bulleted, Ordered, and Task lists (checkboxes).
Media: Insert links, images (with alt text and captions), or search for emojis.
The Insert menu
For more advanced layouts, use the Insert dropdown. It exposes every available block — layout containers, callouts, code groups, API reference blocks, diagrams, and more.
The full block catalog with usage examples and MDX snippets lives in Adding Components and Layouts.
Writing faster with AI
When you need help drafting content, rephrasing a paragraph, or generating code examples, the built-in AI editing assistant is ready. AI changes are never applied silently — they're staged as pending proposals so you can review them before they land.
Click the floating AI button in the bottom-right corner of the editor, or press Cmd/Ctrl + J.
Type a natural-language request. For example: "Make this paragraph more concise", "Rewrite in a friendlier tone", or "Add a Python code example". Press Enter to send (use Shift + Enter for a newline).
The AI's output appears as a pending proposal rather than overwriting your content directly. You see exactly what's being added, removed, or modified before deciding.
Accept to merge the change into the page, reject to discard it. The editor stays selected on the affected block so you can keep working.
Reviewing proposals
Proposals come in three flavors, each with its own UI:
While a proposal is pending, the page is marked accordingly in the sidebar and the Publish button is gated — you can't ship to readers until every proposal has been accepted or rejected.
Proposals are also generated by re-syncing a section's sources (the same review UI applies). When source material drifts, the editor will surface a banner and let you walk through the diff one block at a time. See Re-sync & Pending Changes for that workflow.
The Source sidebar
Every section in the editor has a Source sidebar showing the resources that fed its generation — repos, files, websites, OpenAPI specs. Open it to:
Inspect what's currently attached.
Add or remove files on an already-generated section, then hit Regenerate when the set changes.
See stale indicators when GitDocAI detects upstream drift (commit moved, website re-crawled, file updated). Stale resources are flagged in the sidebar so you know it's time to re-sync.
Trigger a re-sync that stages the differences as pending proposals.
Live preview
Before publishing, see exactly how a page will look to your readers. Click the Preview button to open a full-screen view that renders your content with the real theme, sidebar, and navigation.

Inside the preview, toggle between three device sizes to catch layout issues:
Desktop — full sidebar, table of contents visible.
Tablet — collapsible drawer sidebar, TOC hidden.
Mobile — phone-width view, drawer sidebar.
The preview connects via Server-Sent Events: as soon as content changes in the editor, the preview pane updates without a manual refresh. The Publish button is also pending-aware — if any proposals are unresolved on the current page, the button stays disabled until you clear them.
Preview is the best way to verify how components (tables, callouts, code blocks, diagrams) render before your readers see them.
Working with versions
If your product has multiple releases (v1, v2, beta), maintain separate documentation for each without duplicating sites. The version selector in the editor header switches between versions instantly — the sidebar and content reload to show that version's structure.
What you can do with versions:
Create a new version — starts as a copy of the current one, so you don't lose history.
Rename or re-slug a version at any time.
Flag it as Default (what readers see first), Latest (the newest release), or Deprecated (still accessible but marked as old).
Enable or disable the version selector globally — if you turn it off, readers only see the default version.
Versions are never deleted. Mark old ones as deprecated instead — this keeps existing links working for readers who still need them.
Saving your work
Your content autosaves a few seconds after each change. The header status indicator cycles through three states:
Unsaved changes (amber dot) — waiting to autosave.
Saving… (spinner) — save in progress.
Saved (green checkmark) — successfully persisted.
If you try to navigate away while changes are still pending, a confirmation modal lets you Save, Discard, or Cancel.