

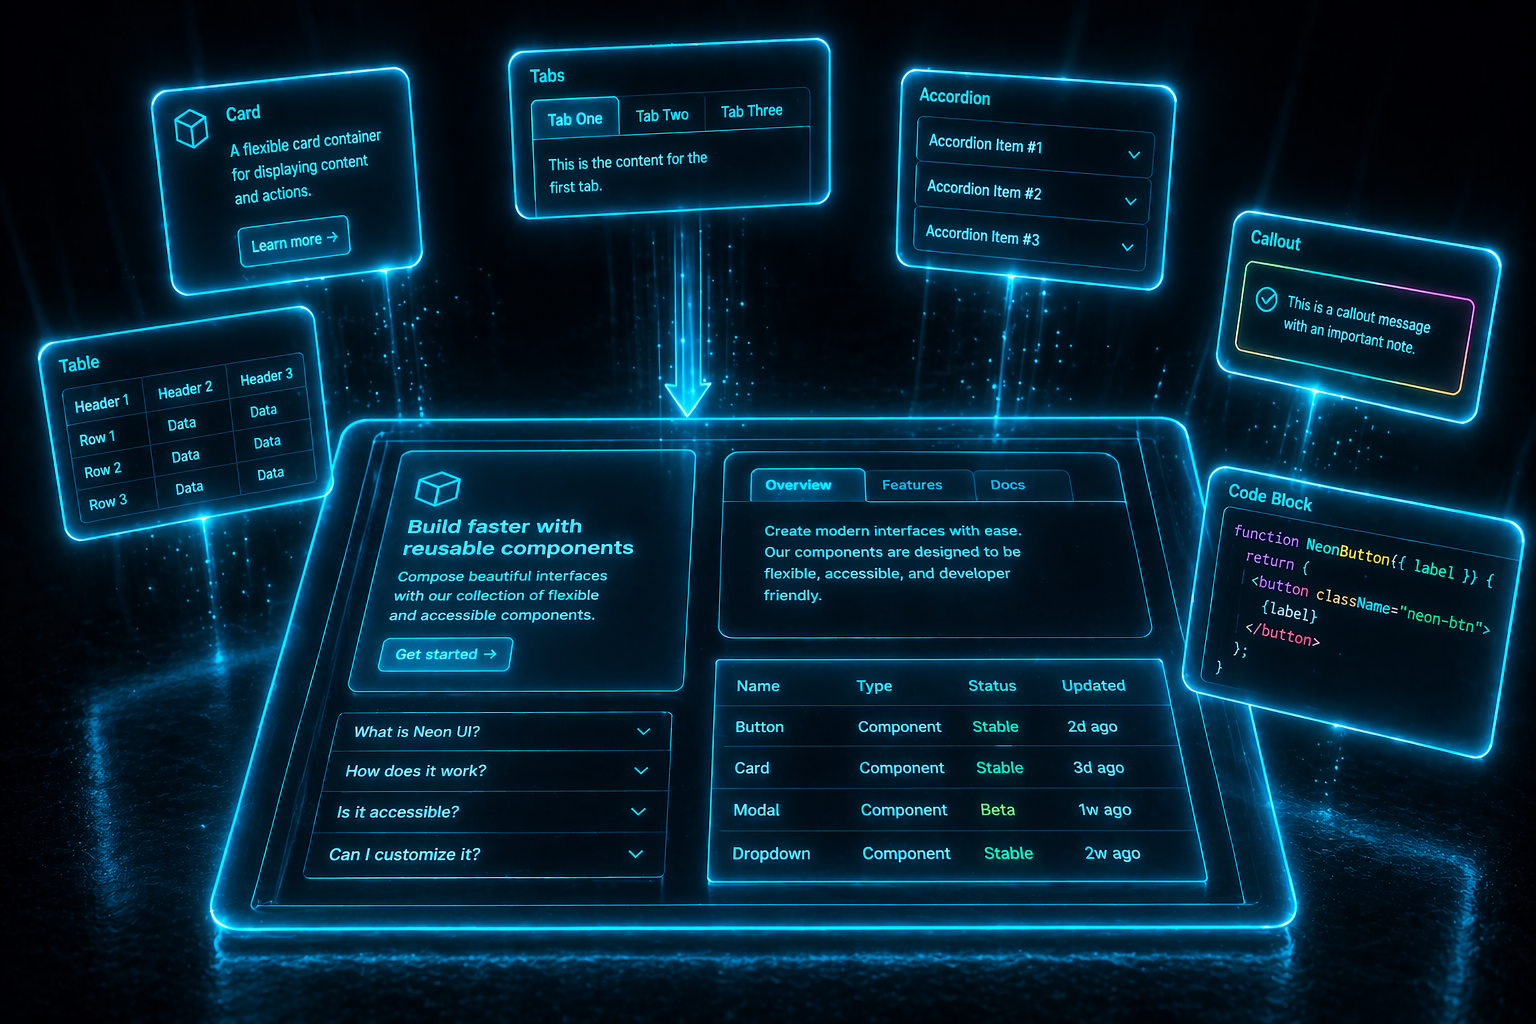
GitDocAI lets you go beyond plain text by using interactive MDX components. Whether you want multi-column layouts, step-by-step tutorials, or highlighted warnings, you can easily enhance your documentation to make it engaging and easy to read.
Every section below shows the MDX syntax you write and a live preview so you know what each component produces.
Structuring your pages
Card
A highlighted container that draws attention to related content. Perfect for feature grids, links to other pages, or short summaries with an optional icon.
Attributes: title, icon, iconAlign (left default or right), href (makes the whole card clickable).
<Card title="Getting started" icon="pi pi-rocket" href="/quickstart">
Follow our 5-minute quickstart to publish your first documentation site.
</Card>Tabs
Tabs are perfect for showing alternative views of the same concept — instructions for different operating systems, alternative approaches to the same task.
<Tabs>
  <Tab title="macOS" icon="pi pi-apple">
    Download the `.dmg` file and drag it to your Applications folder.
  </Tab>
  <Tab title="Windows" icon="pi pi-microsoft">
    Run the `.exe` installer and follow the setup wizard.
  </Tab>
</Tabs>
Accordions
Collapsible sections help keep your pages clean by hiding content until the user expands it. Ideal for FAQs, optional deep-dives, or troubleshooting steps.
<Accordion>
  <AccordionTab title="What is GitDocAI?">
    An AI-powered platform that generates and publishes documentation websites.
  </AccordionTab>
  <AccordionTab title="How long does setup take?" icon="pi pi-clock">
    Most users publish their first doc in under 10 minutes.
  </AccordionTab>
</Accordion>
Guiding users
Steps
When documenting a procedure where the order matters — an installation guide, an onboarding flow — use <Steps>. It automatically numbers your sections.
<Steps>
  <Step title="Install the CLI">
    Run `npm install -g @gitdocai/cli` in your terminal.
  </Step>
  <Step title="Authenticate">
    Run `gitdocai login` and follow the browser prompt.
  </Step>
  <Step title="Publish">
    Run `gitdocai publish` from your docs folder.
  </Step>
</Steps>
Callouts
Callouts draw attention to crucial information. GitHub-style admonition syntax.
> [!TIP]
> You can press Cmd/Ctrl + J anywhere in the editor to open the AI assistant.
You can press Cmd/Ctrl + J anywhere in the editor to open the AI assistant.
Code and media
Code blocks
Specify the language immediately after the opening backticks for syntax highlighting. You can also add a filename for context.
```js utils.js
export const add = (a, b) => a + b;
### Code groups
When showing the same example in multiple languages (curl, Python, JavaScript), wrap your code blocks in `<CodeGroup>`.
### Images
Embed images with standard Markdown syntax. The alt text shows up for screen readers and as a fallback if the image fails to load.
```mdx
